Laser Temperature Controller using Stepper Motor
Problem:
The Nd:Yag laser came with a solenoid water valve for temperature control. When turned on the laser head begins to heat up. At about 25C the temp sensor opens a water valve and the laser head begins to cool down. This happens about every 10 seconds depending on the cooling water flow rate. The laser head temperature would fluctuate by about one degree decreasing the frequency stability of the laser. The pipes would also shake every time the solenoid would open and close. This pressure fluctuation in the water supply was noticeable in the frequency stability of nearby lasers.
Solution:
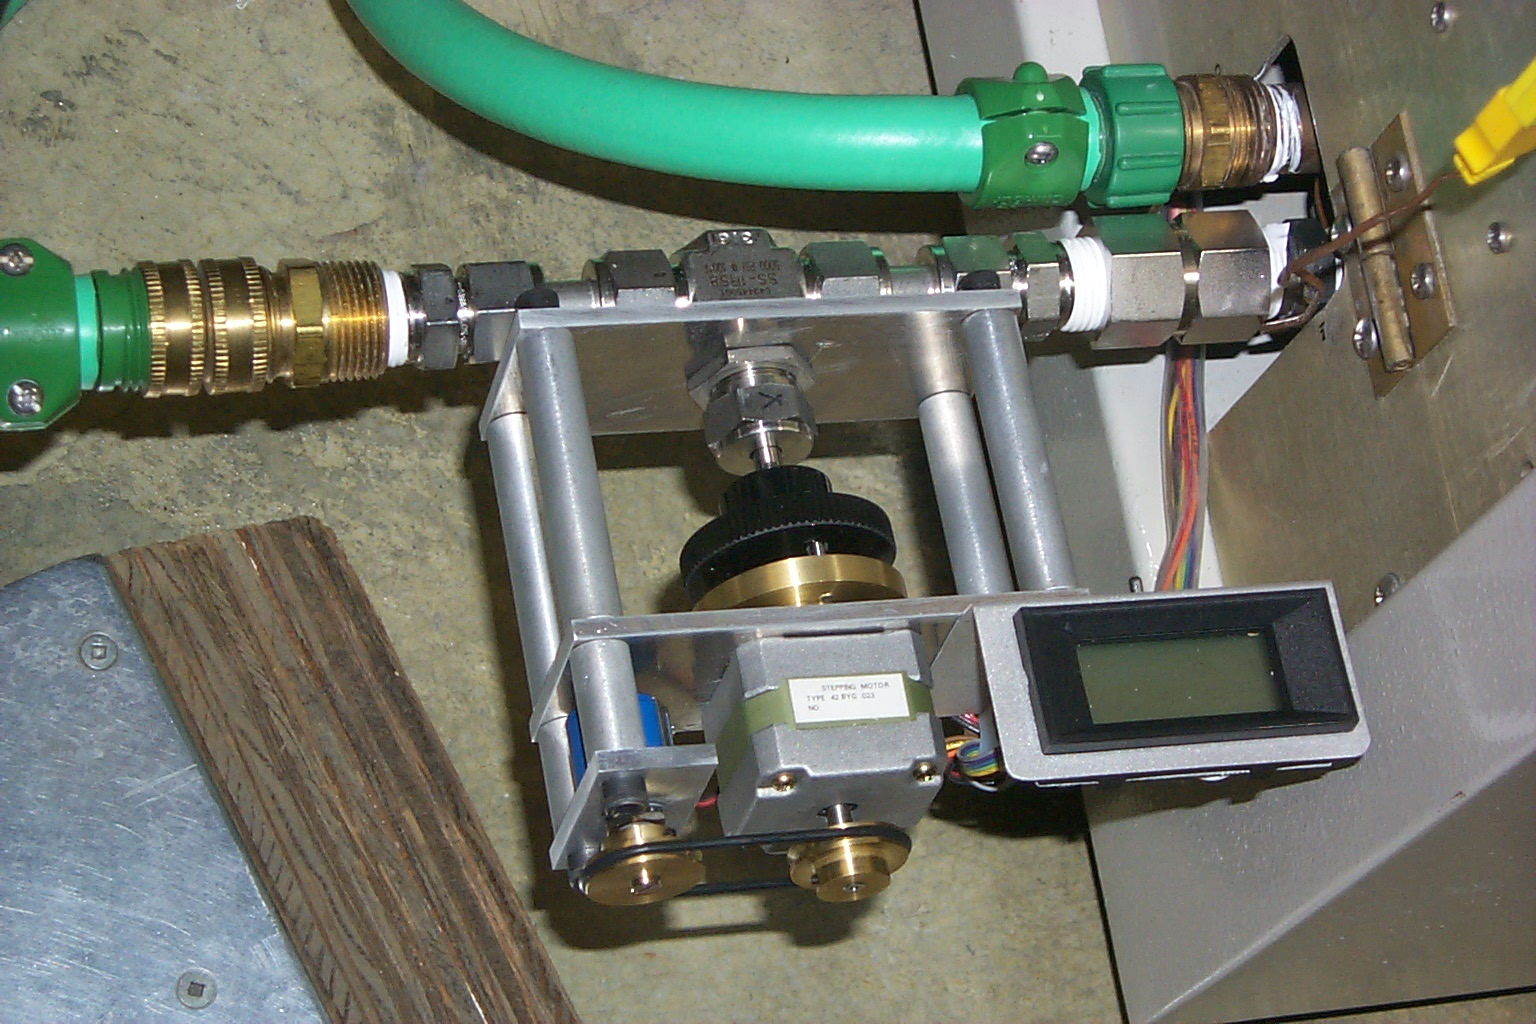
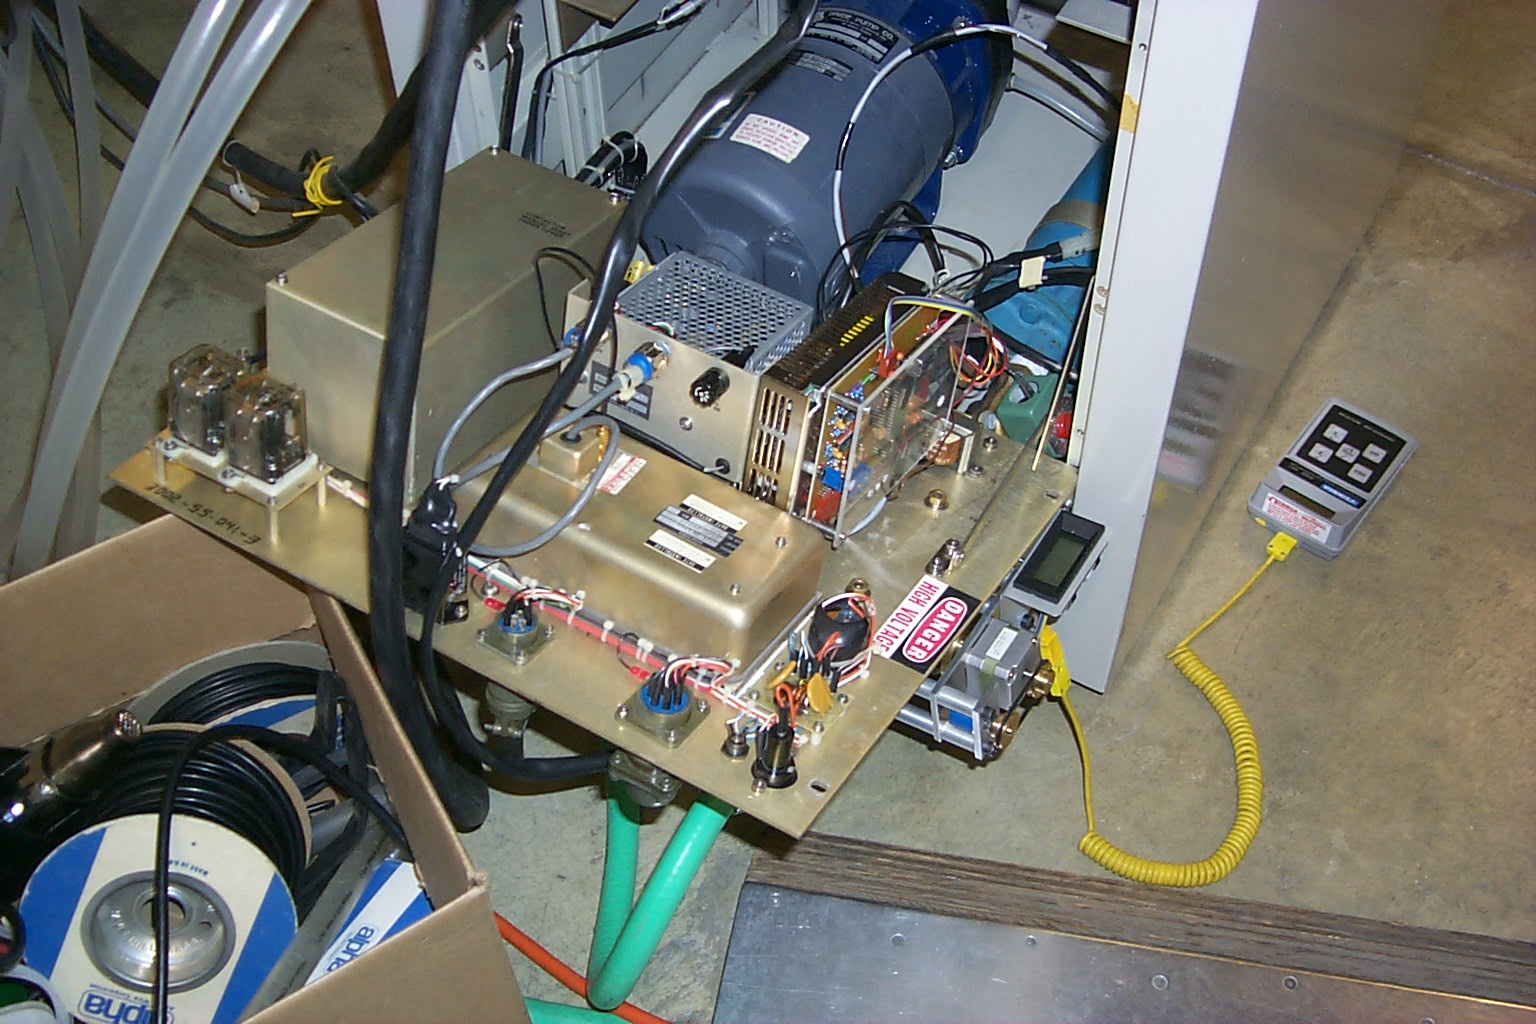
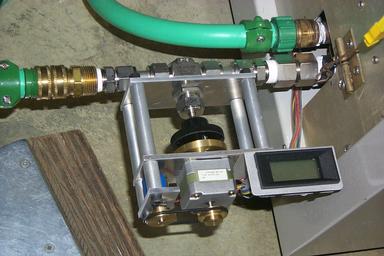
A water valve was installed in series with the solenoid valve. The flow rate can be set such that there is enough water flowing to keep the laser cool and at a constant temperature (but below the point at which the solenoid will cut the water supply to heat the laser). The temperature at which the solenoid kicks in drifts slightly as does the pressure and temperature of the cooling water. This makes it necessary to adjust the valve position every few minutes.
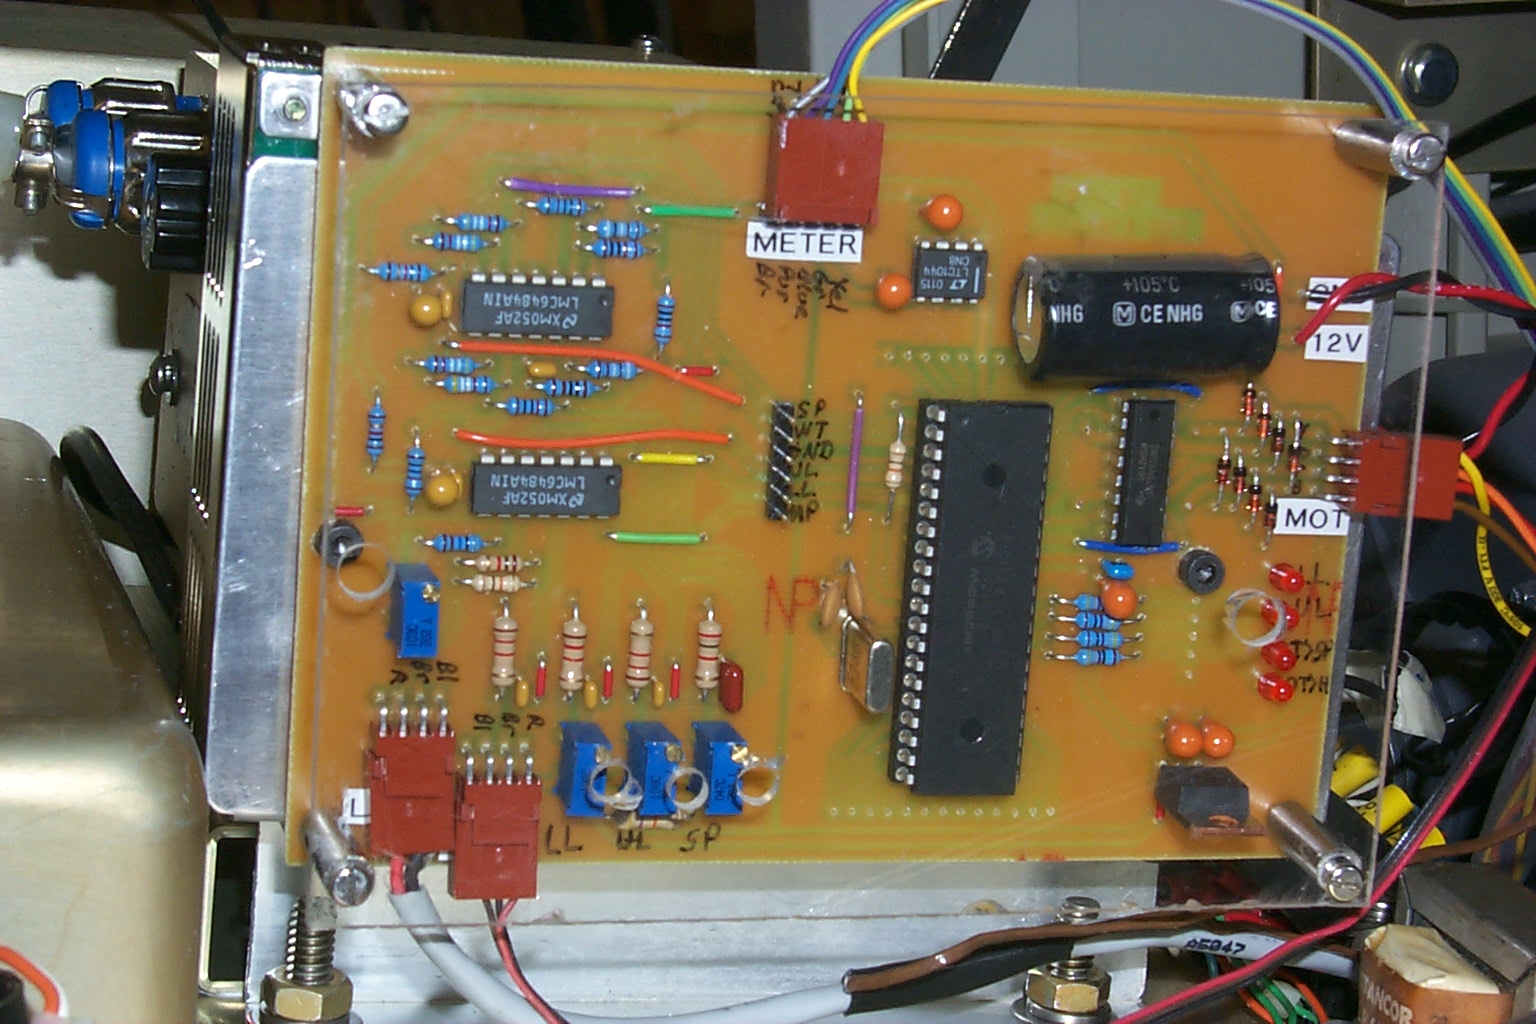
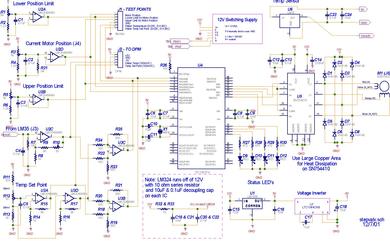
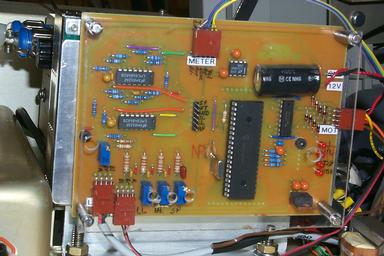
A temperature sensor and stepper motor were used to turn the valve as needed to keep the laser head at constant temperature. The circuit uses an LM35 to sense the temperature and a 10-turn pot to measure the motor position. The motor position is used to make sure the motor doesn't turn too far either way and jam the valve. There are trim pots on the board to adjust the desired temperature and the max and min motor positions.
The uP continually loops reading the current temp and desired temp. If they temps aren't within a certain range (dead zone) the motor steps in the appropriate direction. The farther the temps are apart the faster the motor steps. The dead zone is needed to keep the motor from continually stepping up and down around the ideal position. The motor is turned off between steps to reduce self heating.
Special thanks to Amo Sanchez (our machinist) for manufacturing the mount for the motor and position sensing pot.